

















You know you should be everywhere at once: Instagram, Facebook, LinkedIn, maybe TikTok. But instead of feeling “strategic”, social posting feels like a daily scramble. You’re rewriting the same captio
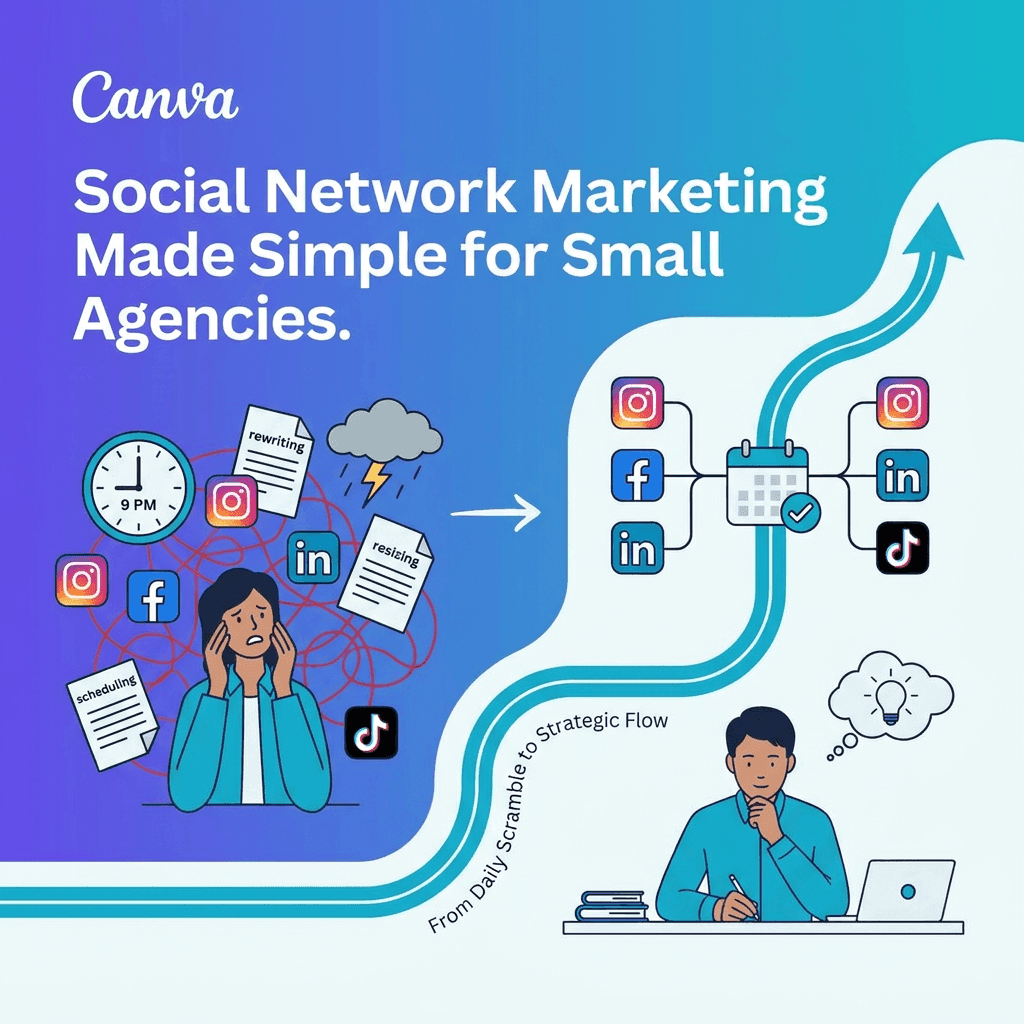
Meanwhile, client work fills your calendar. You start skipping posts “just this week”. Engagement drops. A client asks why their feed looks quiet and you’re back inside Meta’s clunky interface at 9 p.m., cobbling together a reel you wish you’d planned a week ago.
Why your social marketing feels harder than it should
Most small agencies don’t lack ideas. You have screenshots, testimonials, and photos sitting in folders. The real problem is that your process doesn’t match the volume and variety of platforms you’re handling.
Three common issues get in the way:
- You create posts one at a time, per platform.
- You design from scratch instead of from reusable assets.
- You manage scheduling inside each native app.
That approach might work for one brand and one channel. The moment you add a new client or platform, the admin work explodes. What you need isn’t more tools or more logins. You need a simple, visual workflow that you repeat every week.
Start with one clear weekly content map
Before you touch a design tool or a scheduler, fix your planning.
Open a blank weekly calendar (digital or on paper) and decide, very concretely, what shows up where. For example:
- Monday: Educational tip on LinkedIn and Facebook
- Wednesday: Behind-the-scenes photo on Instagram feed and Stories
- Friday: Client result or testimonial on LinkedIn and Instagram
You’ve just done three important things:
- Limited your posting frequency to what you can sustain.
- Turned a vague “we should post more” into a predictable pattern.
- Made it obvious what you need to create each week.
Repeat this for each client. Color-code each brand so you can see when weeks are overloaded. If your calendar looks impossible on paper, it will be worse in reality—scale back before you design anything.
Once you have this weekly content map, treat it as a template. You’re not reinventing your strategy every Monday. You’re simply filling the same slots with fresh content.
Turn your calendar into visual templates you can reuse
Now that you know you need, say, three posts per week, per client, don’t design 12 unique layouts every time. Build a small, reusable library.
For each recurring slot in your calendar, create one or two base designs. For example:
- Educational tip
- One carousel template (3–5 slides)
- One single-image graphic
- Behind-the-scenes
- One photo-first layout with room for a short caption
- Client result
- One “before/after” layout
- One quote/testimonial layout
Lock in:
- Brand colors
- Font pairings
- Logo placement
- Basic layout structure
Then, each week you’re not “designing a post”. You’re opening a template and swapping out:
- Headline text
- Supporting copy
- Background image or photo
This instantly cuts design time from 45 minutes per post to 10–15 minutes. It also keeps every client’s feed visually consistent, even if different people on your team are creating posts.
If you manage multiple brands, organize templates into clearly labeled folders by client name and content type (e.g. “Client A / Tips”, “Client A / Testimonials”, “Client B / Reels Covers”). Your future self will thank you when you’re rushing to fill gaps.
Design once, export for every social platform
A lot of your time vanishes in resizing. You design an Instagram post, then realize it looks off on LinkedIn. Or you crop a Story screenshot down for a reel cover and lose half the important text.
Fix that by designing for families of formats, not for individual platforms.
Start with three core sizes:
- Square (1080×1080) – good for Instagram feed, Facebook feed, LinkedIn posts.
- Vertical (1080×1920) – good for Stories and vertical video backgrounds.
- Horizontal (1920×1080 or 1200×628) – good for YouTube thumbnails, LinkedIn banners, and some ad formats.
For each template you build, create linked versions in each size. Keep the key elements in safe zones:
- Avoid important text at the very top or bottom of vertical formats (where UI elements sit).
- Keep logos and CTAs centrally aligned so they survive minor crops.
When you’re planning a campaign—say, promoting a new case study—design:
- A square feed post template
- A vertical Story template
- A horizontal banner or thumbnail template
Then simply adapt the message, not the entire design, for each platform. Instead of creating nine unique designs for three platforms, you’re exporting three well-fitted versions from one base.
Batch your work into three simple sessions each week
Trying to think, design, write, and schedule in one sitting is why you burn out. Break your workflow into three short, focused blocks.
1. Planning block (30–45 minutes)
Once a week, preferably Monday morning:
- Look at your weekly content map.
- Confirm which posts you’re creating for each slot.
- Collect raw material: photos, stats, quotes, links.
- Jot rough ideas for headlines and hooks.
Aim to leave this block with a list like:
- “Wed IG/FB: photo from last shoot + tip on posing.”
- “Fri LinkedIn: quote from Client X about 40% lead increase.”
2. Creation block (60–90 minutes)
Later the same day (or the next), open your templates and move quickly:
- Duplicate the right template for each planned post.
- Drop in text and images.
- Adjust colors if needed.
- Export drafts if you need client approval.
Don’t edit captions deeply here. Focus on visuals and basic accuracy.
3. Scheduling block (30–45 minutes)
Once visuals are approved:
- Write final captions, tailored slightly for each platform.
- Add hashtags where relevant.
- Schedule posts into your chosen tool for the week ahead.
This rhythm fits into a small agency’s actual schedule. You can run it in a single afternoon for your own brand, or spread it across two days when juggling multiple clients.
Use built-in scheduling instead of extra software (until you really need it)
Many small agencies jump straight to complex social media management platforms. They pay for features they don’t use, then still end up posting manually when something breaks.
If you’re handling a handful of platforms per client, you can go far with native or built-in schedulers:
- Facebook and Instagram via Meta Business Suite
- LinkedIn’s native post scheduler
- TikTok’s in-app or web scheduler
These let you:
- Queue content days or weeks ahead.
- See a basic calendar of upcoming posts.
- Post at consistent times without being online.
If you’re already designing in a visual tool, explore whether it offers direct scheduling or integrations with the major networks. Being able to go from template to scheduled post in one place reduces context switching and cuts down on mistakes.
When should you upgrade to dedicated multi-platform software? Look for these signs:
- You need advanced approval workflows with large teams.
- You’re managing 10+ brands with heavy daily posting.
- Reporting and cross-channel analytics have become a client expectation.
Until then, keep your stack light. Process beats software.
Create a simple “client-ready” system without extra admin
Clients don’t care what tools you use; they care that it feels controlled and consistent. A simple, repeatable process can feel as polished as an enterprise setup.
Set up a basic, shared structure per client:
- One folder for approved templates (by content type).
- One folder for assets (photos, logos, brand guidelines).
- One content tracker (a spreadsheet or shared doc) with columns for:
- Date
- Platform
- Post type (tip, testimonial, promo)
- Status (planned, in design, pending approval, scheduled, live)
- Link to creative
Your weekly routine then looks like this:
- Update the tracker based on your weekly content map.
- Create or adapt posts using the right templates.
- Drop preview links or images into the tracker for quick client review.
- Mark posts as scheduled once they’re in the queue.
If a client emails “What’s going out next week?”, you don’t dig through drafts. You share a single link to the tracker or export it as a quick PDF.
Make your social workflow an asset, not a chore
Social network marketing doesn’t have to fight your client work. When you:
- Map a realistic weekly content pattern,
- Build a small, reusable template library,
- Batch planning, creation, and scheduling,
- Keep your tool stack as simple as possible,
you turn posting from “whenever we remember” into a calm, repeatable system.
Start small. Choose one client or even your own agency brand. Build a one-week content map, create two or three templates, and schedule just a handful of posts ahead. Once that feels manageable, copy the same visual workflow to the rest of your clients.
The goal isn’t to be on every platform. It’s to show up consistently, with recognisable, on-brand visuals, without your team losing a day every week to social admin.